blog content
Amazing Animated API
In this part I would like to cover a bit different cases than LayoutAnimation. It is a really great tool, but it has some limitations. We’ll try to implement something more with Animated. This is second part of React Native animation series:
- Simple and pretty LayoutAnimation
- Amazing Animated API
- How to handle gestures with PanResponder
Animated API
To do more complex and interactive animations, you’ll need to use Animated. Basic knowledge of CSS animations and transitions could be a plus, but don’t worry if you don’t know them. There are a lot of tutorials over the internet and also docs are pretty helpful.
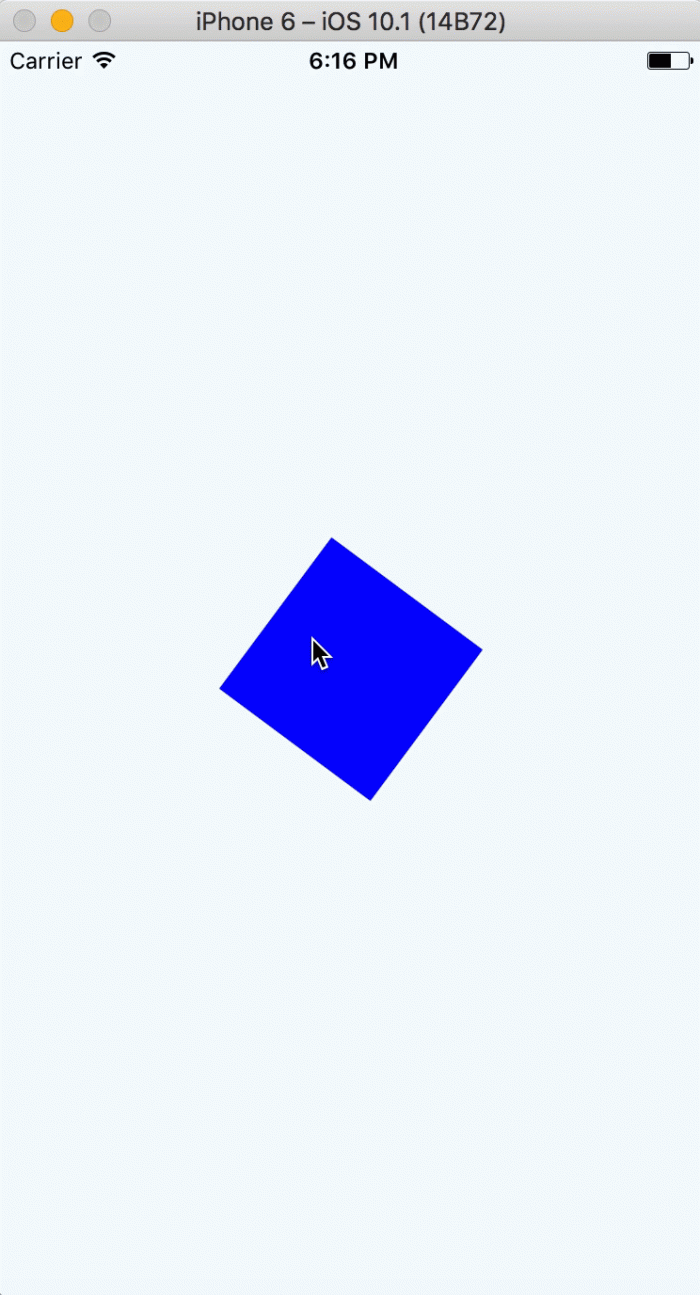
As I wrote before, Animated allows us to do some more complex animation. Say we want to make our component spin. It would be hard with LayoutAnimation, and now our new friend steps in.

How would we achieve it? Just take a look at the example.
What exactly did we do? At the beginning we added our Animated.Value(0) to state.
It’s a very important step, since it determines our component’s animation state. Why is it 0? Because in this case it will tell us about the percentage of the animation complete. You can set any value you want here, but in our case 0 equals 0% of our animation, and 1 stands for 100%.
Second step is the creation of animation function. We used the Animated.timing() function (there is more!) to specify our animation’s behavior, and started it afterwards.
Another interesting thing is callback function inside our .start() call. It allows us to create infinite animation loop. Last step requires updating Animated Component’s styles.
That’s where CSS knowledge is helpful. .interpolate() function helps us transpile our animation values into real style values. You can specify what your outputValue should look like based on inputValue. We can map either numbers, so value from range [0, 1] can be changed to value from [0, 100] range (for 0.1 it will be 10 in this case), or even strings like degrees (in our example 0.5 stands for 180deg).
Animated API has really huge capabilities. If we would like to move our spinning component, then it’s very easy. You can simply add another transition for our component almost the same way we did before.
Take look at result:

Summary
I think now you know the basics of Animated API and LayoutAnimation, you can decide by yourself which way to go. In the next part we’ll cover handling gestures with PanResponder. You’ll love how it combines with Animated.
Check out the rest of the articles from this series:
.svg)


